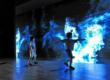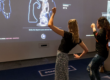

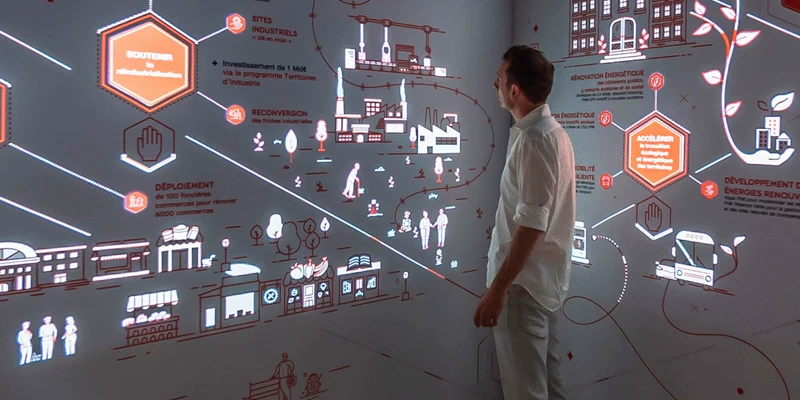
Deploying large-scale interactive walls, floor projection games, and immersive digital exhibits on tight project schedules requires sensing technology that is easy to install and calibrate. Traditional multi-camera vision systems and industrial LiDAR adapters often require hours of lens alignment, manual coordinate warping, and complex network setup.
engineered by Shanghai CPJRobot Co., Ltd., the PoeLidar interactive sensor series (POELIDAR-F1 and POELIDAR-M1) eliminates traditional installation bottlenecks. Featuring plug-and-play Power over Ethernet (POE) architecture, intuitive 4-point coordinate mapping, and native TUIO/OSC protocol streaming, PoeLidar allows construction teams and creative developers to turn any wall or floor into a high-concurrency touch surface in under 15 minutes.
This white paper provides a step-by-step workflow for site technicians, AV installers, and software developers integrating PoeLidar with Unity, Unreal Engine, and TouchDesigner.
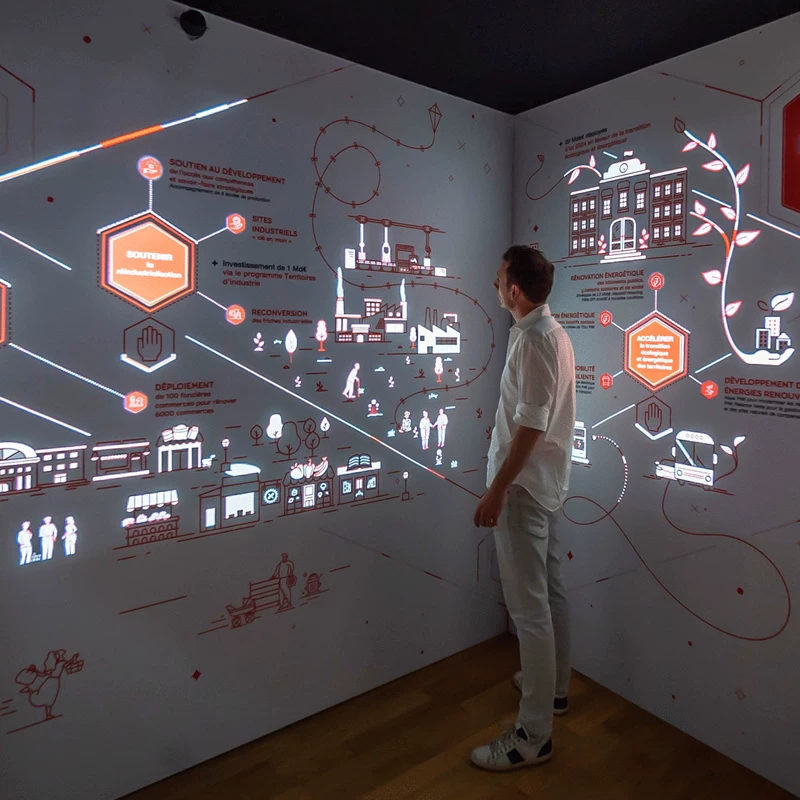
Deployment Architecture Overview
+-----------------------------------------------------------------------------------+
|                        POELIDAR DEPLOYMENT PIPELINE                               |
|                                                                                   |
|  [ Step 1: Mounting ]        [ Step 2: Connection ]      [ Step 3: Calibration ]  |
|  Corner / Edge Placement     Single CAT6 POE Cable       4-Point Touch Mapping    |
|  0.5–1cm Offset Plane        Power + Ethernet (>100m)    Instant Zone Definition  |
|          |                              |                           |             |
|          +------------------------------+---------------------------+             |
|                                         v                                         |
|                       [ Step 4: Software Integration ]                            |
|                       - TUIO (Port 3333) / OSC / Windows                          |
|                       - Unity / TouchDesigner / Unreal Engine                     |
+-----------------------------------------------------------------------------------+
Step 1: Hardware Mounting & Physical Positioning
Proper physical mounting ensures uninterrupted 270° or 360° laser sweep coverage across the projection plane.
Mounting Checklist
- Laser Plane Clearance: Mount the PoeLidar unit 0.5cm to 1cm parallel to the projection surface. This creates an invisible sensing curtain across the wall without physical contact.
- Discreet Corner Mounting: Position POELIDAR-F1 at the top or bottom corner of the projection wall. The 270° sweep angle covers up to 11 meters along the wall plane without obstruction. For central floor or 360° installations, utilize POELIDAR-M1.
- Vibration Isolation: Fasten the sensor securely using M3 screws to solid walls or ceiling trusses to eliminate mechanical vibration and coordinate drift.
+-----------------------------------------------------------------------------------+
|                         WALL MOUNTING PLANE LAYOUT                                |
|                                                                                   |
|  [ POELIDAR-F1 ] (Corner Mount)                                                   |
|       |                                                                           |
|       +==================== Laser Touch Plane (0.5cm-1cm) ======================>  |
|       |                                                                           |
|       |                     [ PROJECTED INTERACTIVE DISPLAY ]                     |
|       |                                                                           |
|       +=========================================================================>  |
+-----------------------------------------------------------------------------------+
Step 2: One-Cable Power & Network Connection
PoeLidar simplifies site wiring by transmitting both power and high-speed data over a single standard Ethernet cable.
- Cable Requirement: Run a standard CAT6 Ethernet cable from the PoeLidar junction box to a Gigabit POE Switch.
- Power over Ethernet (POE): PoeLidar adheres to the IEEE 802.3af POE standard. It draws <5W power dissipation, eliminating the need for local AC electrical outlets near the sensor.
- Transmission Distance: The single CAT6 cable supports stable data transmission over 100+ meters, allowing host computers to be housed safely in remote server racks.
Step 3: Fast-Track Software Calibration (5 Minutes)
CPJRobot provides an intuitive, dedicated GUI calibration utility that automates zone mapping and noise filtering.
+-----------------------------------------------------------------------------------+
|                        GUI 4-POINT CALIBRATION WORKFLOW                           |
|                                                                                   |
|  (Point 1) Top-Left [x] --------------------------------- [x] Top-Right (Point 2)   |
|     |                                                           |                 |
|     |                     PROJECTION DISPLAY AREA               |                 |
|     |                                                           |                 |
|  (Point 4) Bottom-Left [x] ------------------------------ [x] Bottom-Right (Pt 3) |
+-----------------------------------------------------------------------------------+
Rapid Calibration Workflow
- Launch PoeLidar Calibration Assistant: Open the utility on the host PC connected to the local network. The software automatically detects all PoeLidar IP addresses on the subnet.
- Define Interactive Area: Select the display surface geometry (Rectangular, Square, Polygon, L-Shaped, or Curved).
- 4-Point Corner Alignment: Click the four corners of the projected image on screen. Walk to the wall and touch the four corresponding physical crosshairs. The calibration tool calculates the perspective transformation matrix instantly.
- Noise Filtering & Masking: Set the minimum object size threshold to prevent accidental triggers from insects or curtain drafts. Unwanted fixed obstacles (e.g., architectural pillars or wall trims) can be masked out with a single click.
- Save to Flash: Save settings directly to the PoeLidar internal memory. Settings remain persistent across system reboots.
Step 4: Software Integration (Unity, TouchDesigner, Unreal)
PoeLidar communicates natively via open industry protocols, eliminating proprietary SDK vendor lock-in.
Protocol Output Specs
| Protocol | Default Port | Maximum Concurrent Points | Best Used For |
| TUIO (UDP) | 3333 / Custom | Unlimited Points | Unity, TouchDesigner, Processing, C++ |
| Windows Multi-Touch | Native Driver | Up to 256 Points | Windows Applications, HTML5, Flash |
| Mouse Emulation | System Virtual | Single/Pseudo Multi | Legacy Applications, Basic Kiosks |
+-----------------------------------------------------------------------------------+
|                         CREATIVE ENGINE INTEGRATION PIPELINE                      |
|                                                                                   |
|  [ PoeLidar Sensor ] ---> TUIO UDP Stream (Port 3333)                             |
|                                   |                                               |
|       +---------------------------+---------------------------+                   |
|       |                           |                           |                   |
|       v                           v                           v                   |
|  [ Unity Engine ]          [ TouchDesigner ]           [ Unreal Engine ]          |
|  TouchScript / OSC In      TUIO In DAT / CHOP          OSC Plugin / Blueprint     |
+-----------------------------------------------------------------------------------+
1. Integrating with Unity 3D
- Plugin Setup: Import standard TUIO listeners (e.g., TouchScript or Unity TUIO Client) into your Unity project.
- Port Configuration: Set the
TuioInputcomponent UDP listener port to 3333. - Coordinate Mapping: PoeLidar outputs normalized screen coordinates ($X: 0.0 – 1.0, Y: 0.0 – 1.0$). Map normalized TUIO coordinates directly to Unity World Space or UI Canvas rect transforms.
2. Integrating with TouchDesigner
- TUIO In DAT / CHOP: Drag a
TUIO InDAT or CHOP directly into your project network. - Data Parsing: Set the network port to
3333. TouchDesigner automatically parses incoming touch IDs, $X/Y$ coordinates, and velocity vectors into real-time CHOP channels for instant particle and fluid visual effects.
3. Multi-Sensor Cascading for Massive Surfaces
For displays wider than 15 meters, cascade multiple PoeLidar sensors over the Gigabit switch. The PoeLidar software handles coordinate merging and point deduplication across overlapping scan zones, sending a unified TUIO data stream to your application.
Comparison: Setup & Calibration Overhead
| Installation Phase | Traditional Multi-Camera Setup PDF+ 1 | PoeLidar Interactive System PDF+ 1 |
| Physical Wiring | Multiple USB extenders + Local Power | Single CAT6 Cable (POE) |
| Lighting Alignment | Sensitive to spotlight shifts | Active TOF Laser (Immune to light) |
| Calibration Duration | 1 to 3 Hours (Manual Warp) | Under 5 Minutes (4-Point Touch) |
| Re-calibration Need | Frequent (Drifts under thermal/light shifts) | Zero Drift (Fixed TOF Matrix) |
Conclusion
By unifying Power over Ethernet hardware, active Time-of-Flight laser accuracy, and open TUIO/OSC protocols, PoeLidar provides integrators and developers with a fast-track solution for interactive projection spaces. Site teams can achieve precise multi-touch sensing while reducing installation labor and software setup overhead.